
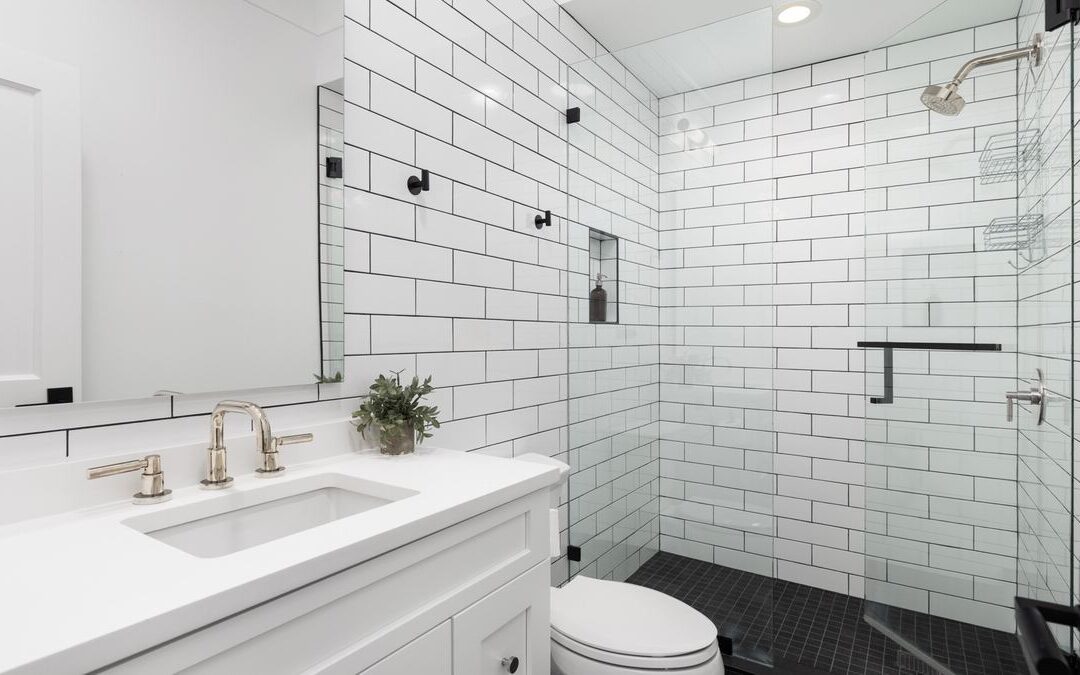
Tile looks solid, so many people assume it keeps water out. In reality, tile and grout are not the waterproof layer, and that is the first of the shower waterproofing basics to know.
In fact, water can pass through grout and tiny gaps over time. The real protection lives in layers you never see. This article explains those layers in plain terms so you can ask better questions.
It is not an installation tutorial. Instead, it gives homeowners enough background to understand proposals, compare systems and spot gaps in a plan.
Why Tile Is Not the Waterproof Layer
Schluter, a maker of shower systems, notes that the tile layer itself is not waterproof. Moisture can move through grout and into whatever sits behind it. If that layer cannot handle water, problems can follow.
Those problems include mold, rot in framing and damage to nearby rooms. They often stay hidden for years. So the real protection must come from the assembly behind and under the tile.
Shower Waterproofing Basics Start With Backing
First, backing is the surface that tile attaches to. It needs to stay stable when it gets damp. In the City of Sacramento, the bathroom remodel handout says shower backing should be a cementitious material or a gypsum board approved for that use. It also notes that greenboard is not an acceptable substrate.
Backing alone is usually not the waterproof layer, though. Instead, it supports the layer that is.
Two Common Approaches
The Schluter article describes two main ways to build a tiled shower. The traditional method uses a sloped mortar base, a pan liner and a mortar bed on top. Water that gets through the tile drains to weep holes in the drain.
The second approach uses a bonded waterproof membrane. It goes directly under the tile and ties into a drain with a bonding flange. As a result, water stays at the surface and flows into the top of the drain.
Both methods can work when built correctly. However, each has its own parts, and mixing parts from different systems can cause problems.
Shower Waterproofing Basics for Transitions
Next, transitions are places where one surface meets another. Examples include wall to floor, wall to wall, the curb and the edge where the shower meets the rest of the bathroom. These spots move slightly and often need special treatment.
Ask how the plan handles each transition. A good answer names the products and explains how they connect. In contrast, a vague answer may signal a gap.
Penetrations and Openings
Similarly, penetrations are holes through the waterproof layer. Valves, shower heads, niches, grab bar blocking and benches all create them. Each one needs sealing that matches the system in use.
Niches and benches add corners and edges, so they add risk. Built in seats and shelves also need solid support inside the wall. That does not mean you should avoid them. Still, ask how the plan will seal each one.
Testing Before Tile
Many systems recommend a water test before tile goes on. Schluter describes a water test in which the installer plugs the drain, fills the shower base with water, marks the level and checks it later. If the level holds and no leaks appear, the assembly passes.
Ask whether your installer plans a test and how they will record the result. Photos of the test can be useful records for the future.
Shower Waterproofing Basics and Compatible Systems
Manufacturers design their membranes, drains, sealants and accessories to work together. Many tie their warranties to using compatible parts. So ask which system the plan uses and whether all parts come from that system or an approved list.
Also ask for the product data sheets and installation documents. You do not need to read every detail. However, having them helps if questions come up later.
Documentation to Keep
Finally, keep a simple folder for the shower project. Include product names, photos of the waterproofing before tile, any water test results and warranty papers. These records help with future repairs and with a sale. They also help if you ever need to make a warranty claim.
This kind of documentation also shows that the hidden work matched the plan. Few people think about it until something goes wrong.
Why Small Gaps Matter Over Time
A tiny leak may not show up right away. Instead, water can soak into framing or subfloor a little at a time. By the time a stain appears on a ceiling below, the damage may have spread.
That is why the hidden layers deserve so much attention. In short, a careful plan and good records cost little compared with tearing out a finished shower later. So understanding shower waterproofing basics helps protect both the room and the rest of the house.
Questions to Ask
To pull it together, here are questions to bring to any proposal:
- Which waterproofing method and system will you use, and does it include a matching drain
- How will you treat transitions, corners, niches and benches
- How will you seal valve and shower head openings
- Will you water test before tile, and will you share photos
For the bigger picture, see converting a bathtub into a shower and what bathroom permit applications need.